Compatibility
Which Wavlink models use ap.setup?
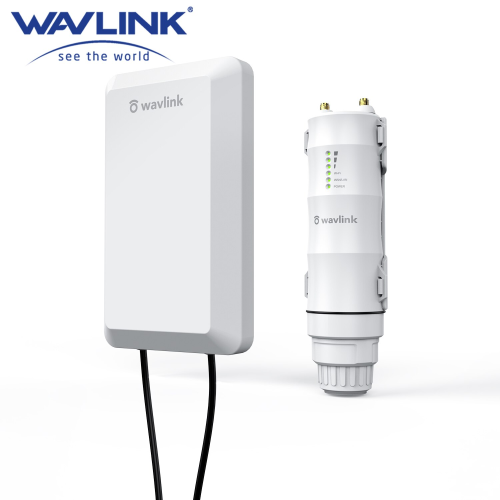
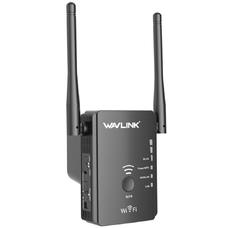
Nearly all of them — from the small indoor plug-in repeaters up to the weatherproof outdoor units. Dozens of Wavlink models share this same ap.setup / 192.168.10.1 login, so the steps above work whether you've got an AC600, an AC1200, an N300, or a newer WiFi 6 (AX) model.
The login is identical across the range; what changes between models is the physical setup and the modes on offer. If you're not sure which you have, find your model in the directory. There are dedicated walkthroughs for the AC1200 (WN579) series, the N300 (WN578) series, and the newer WiFi 6 (AX) series. Outdoor units have a few extra steps (PoE wiring, mounting), covered in the outdoor extender guide.