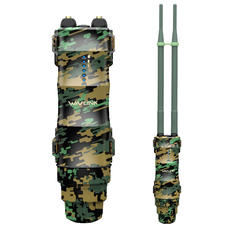
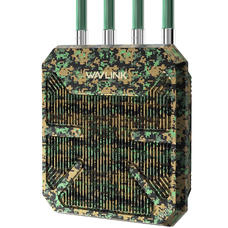
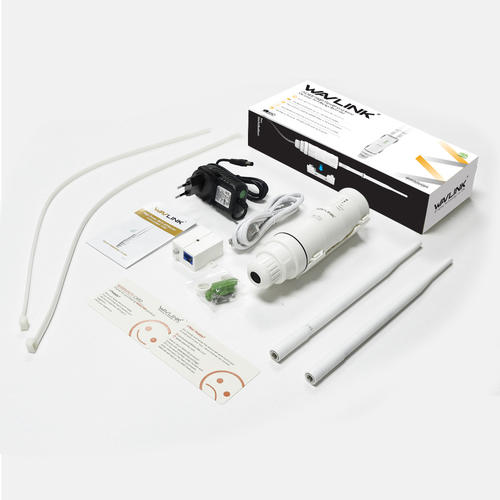
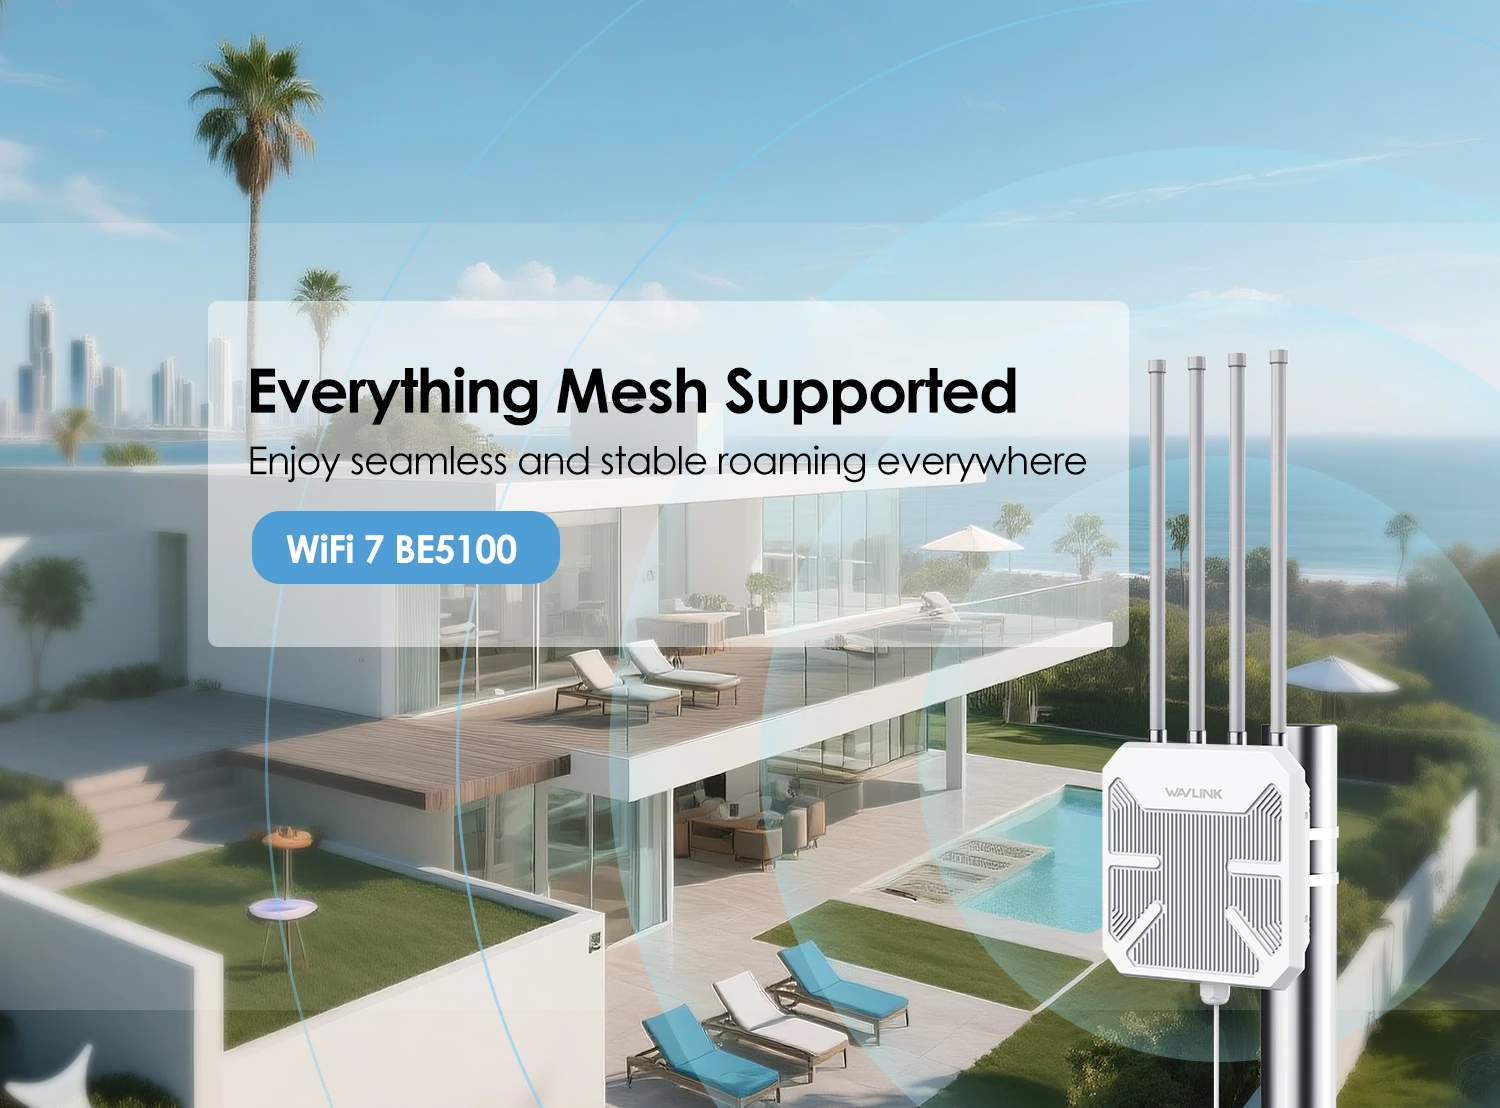
Outdoor units mount high, often run on PoE, and usually work best in Access Point mode. The login is the same — the wiring and placement are where it's different.
Wire the PoE injector first (LAN→POE to the unit, LAN to your router), connect a device to its _Ext network, then log in at ap.setup or 192.168.10.1 and choose your mode. Mount it high with clear line of sight only after it's configured and tested indoors.
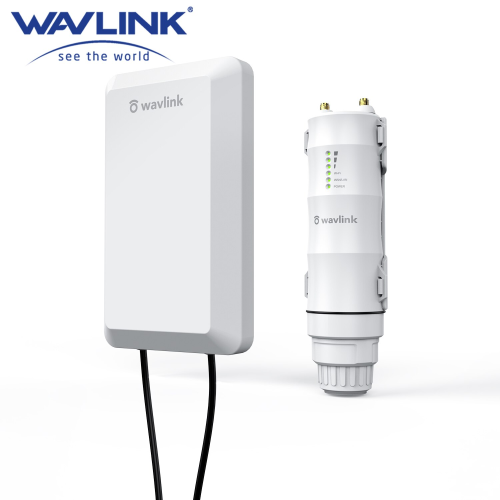
The single biggest outdoor mistake is mounting the unit on a wall or pole before configuring it. Do all the setup on a table next to your router, confirm it works, then take it outside. Climbing a ladder to factory-reset a misconfigured unit is a bad afternoon.
Outdoor models also differ from indoor plug-ins in three ways that change the steps: they're usually powered over Ethernet (PoE) rather than a wall plug, they're built to run in Access Point mode for wide-area coverage, and placement is about line of sight, not just distance.
This guide covers the Wavlink outdoor range, including the WN570HN2 (Aerial HS2), WN570HP2, WN570HA1 (Aerial HD2), WN570HA2, WN572HG3 (Aerial HD4), WN572HP3, and the WiFi 6 WN573HX1 (Aerial HD6). They share these steps; only the antenna count and ports differ.


Most Wavlink outdoor units include a PoE adapter that sends power and data down one cable. Get the two ports the right way round or nothing powers on.
If nothing powers on, you've almost certainly got the LAN and POE ports swapped. Swap them.
Once it's powered and you're connected to its network, setup is the same address as any Wavlink unit.
Higher is better. Walls, dense foliage and metal sheds block the 5GHz band hard.
That's the practical Ethernet/PoE limit before signal degrades.
An exposed outdoor cable is a lightning path. An inline Ethernet surge protector is cheap insurance.